I really enjoy having art in the garden. It is fun to find a little surprise here and there amongst the flowers and foliage. If you have ever had a gazing ball, you know that they are very fragile and unless anchored well, a small breeze can knock it off the pedestal and break it to pieces.
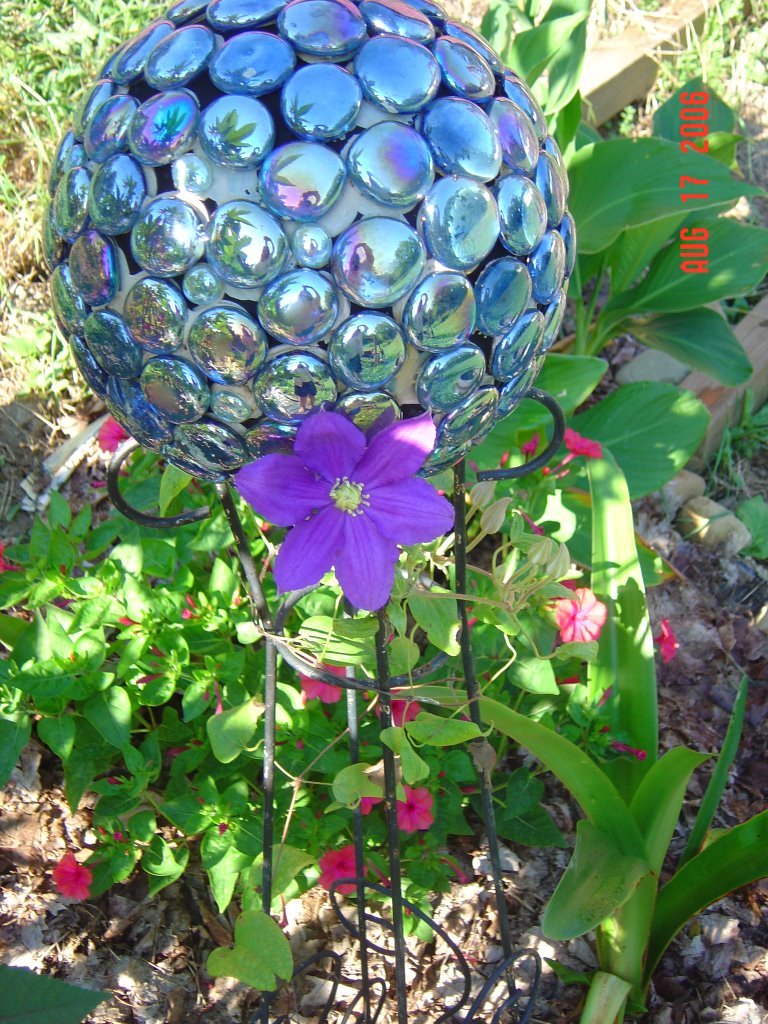
Instead of replacing it with another fragile gazing ball, as lovely and enchanting as they may be, I did a sturdier version from an old bowling ball. You may have heard of this or even seen one. Flat marbles are attached to the bowling ball using adhesive. Sometimes grout is used after the adhesive has dried, and sometimes not. There is a variety of different marble colors and finishes. Some are shiny, some not. Some have a metallic finish and some are even multi-colored. They also come in several different sizes, such as the larger ones used in the first picture.
It does take some time and patience to create one of these. The ball must be cleaned and dried. You must have something to set the ball on while attaching the marbles. An empty coffee can works well to hold it steady while doing this. Then you must wait a day or two while the adhesive dries before turning it over and doing the other half. It is quite fun though, and I get a great feeling of accomplishment once it is completed.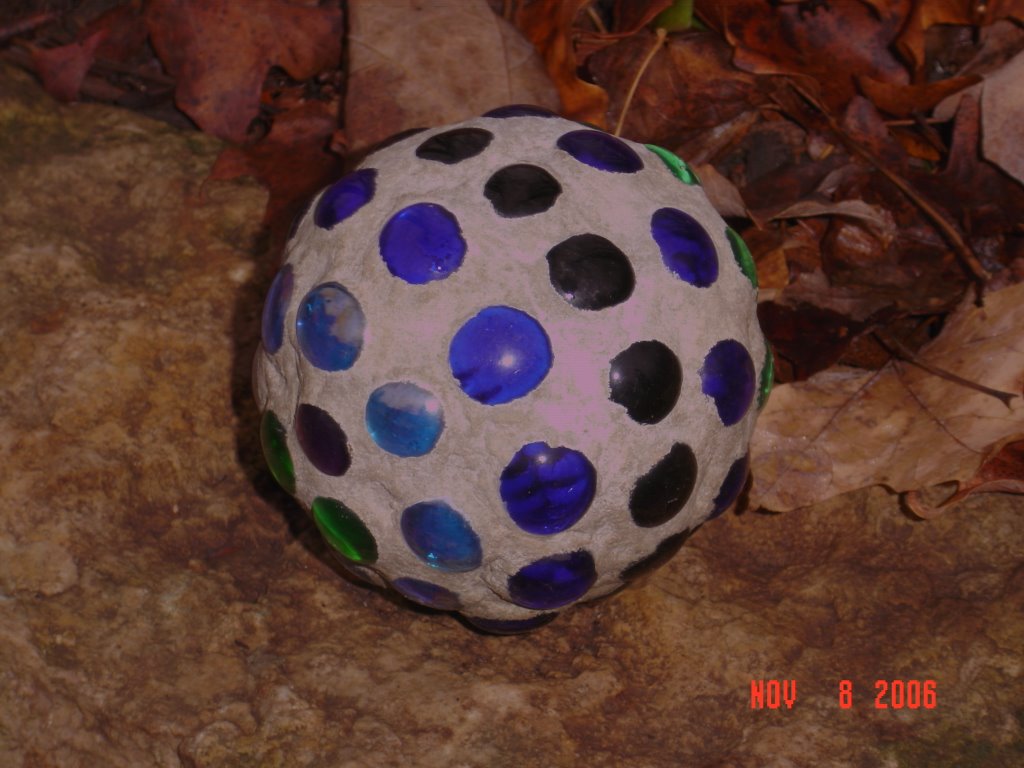
Smaller versions are also fun to make. This one was made using an old baseball. I have also made them using softballs, tennis balls, and even tiny wiffle balls. Smaller ones have their own challenges when putting them together. Instead of placing them on a stand while attaching the marbles, I just hold these and adhere all of the pieces in one sitting. Using exterior grade G.E. Silicone II (for doors and windows), I use a popsicle stick to smear the adhesive on a section of the ball and then stick the marbles to it, not pushing too hard to squish all of the adhesive out. It gets tricky holding the ball towards the end without pushing the marbles out of place. After they are all attached, I sit it aside for a day or so to dry.
There is probably premixed grout available to use, but I use an equal mix of portland cement and sand, with water added until is thicker than pancake batter. With rubber gloves on, I just grab some and rub it in between the marbles, squishing it in nice and tight. I then wrap them in plastic grocery bags for a few hours. By then, the grout has set enough that I can take a damp sponge and wipe the excess off the marbles. Spray it with some water and rewrap. A few hours later I will check them out, just to make sure that I didn't miss getting all the marbles wiped off, I spray it again and rewrap until the next day. I unwrap and spray them down (or just run under the faucet set on low) and wrap once per day for a week. Then unwrap and wet again and leave unwrapped. Spray them several times a day for a 2 or 3 days and they should be cured enough to just spray once a day or every other day for just a couple more days. The grout will end up drying a very pale gray, almost white. You can add concrete dye to the morter mix if you want different colors. I have also just added a box of purple Rit dye to the mix, and although the color wasn't consistent throughout, it did give the white gray some blue-ish areas, which was nice too.
When I used the wiffle balls, they had holes in them, so I was able to string some wire through them and hang them outdoors from a tree. I really enjoy making these. I like being able to make a pattern or use whichever colors I like. I haven't been able to find a local store that carries a wide variety of colors though. Walmart has a decent selection, but they always carry the same stock. I am now experimenting with using beads and glitter on a few instead of the marbles. I hope this will broaden my material selection. I have also seen pictures of balls that had pennies or nickels attached. They were certainly original and I am hoping to cover a bowling ball in pennies this winter.
Friday, November 17, 2006
Making garden balls
![]()
![]()
Subscribe to:
Post Comments (Atom)
No comments:
Post a Comment